Character variations
If you are using an armature you can define characters. A character is a configuration of meshes you want to use in your crowd. It is possible to create multiple characters for a single armature. It is also possible to configure what variations of meshes are allowed when using a character.
Note
Character variations can only be defined for armatures. If your model is not an armature you can skip this step and continue with Material variations.
You can configure the characters using the Node Editor.

Creating multiple characters
In the Node Editor you can create multiple characters based on your Armature. The appearances of a character can be configured by adding meshes to the armature.
Nodes
The following nodes can be used to define characters:
Armature node: To define characters for an armature.
Mesh node: To select the meshes and walk cycles you want to use in your character.
Mesh Group node: To add variations for a character.
Armature node
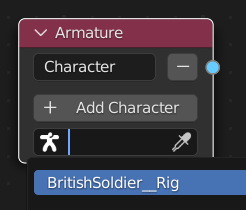
With this node you can select an armature and add one or more character definitions to the armature.

With ‘Add Character’ you can add another character configuration for the chosen armature.
You can remove a character by clicking the ‘-’ button next to that character. All connected nodes are not removed, only disconnected.
Note
Naming
Name your characters well. The name is displayed when populating or adding behavior.
Mesh node
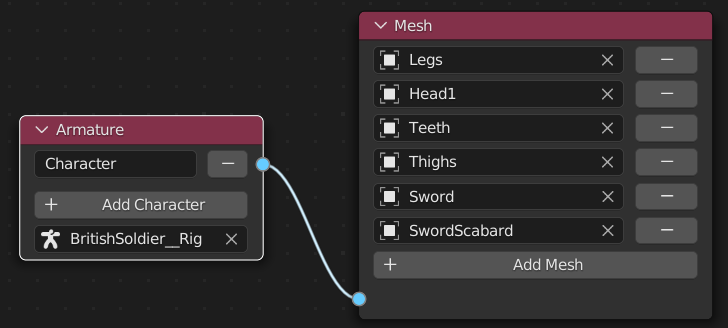
With this node you select the meshes that are part of your character or Mesh Group.

In the above image when you use BritishSoldier__Rig all meshes in the mesh node will be used.
By pressing ‘Add Mesh’ you can add another mesh. By pressing the ‘-’ button next to a mesh you will remove the mesh from the node. The mesh itself is not deleted.
By pressing ‘Add Action’ you can add an action. This action can be automatically selected by the Velocity Based as walk cycles. By pressing the ‘-’ button next to an action you will remove the action from the node.
Mesh Group node
With this node you can create variations of meshes for a character. You define a mesh group, give it a name. Each group can have a set of meshes by using a Mesh node node or other groups.
The weighted option defines wether all the outputs should be evaluated or not. You can use this to configure a Mesh variation option for the character.
When weighted is checked only one output will be evaluated. The crowdsim can variate on the output.
When weighted is unchecked, all outputs will be evaluated.
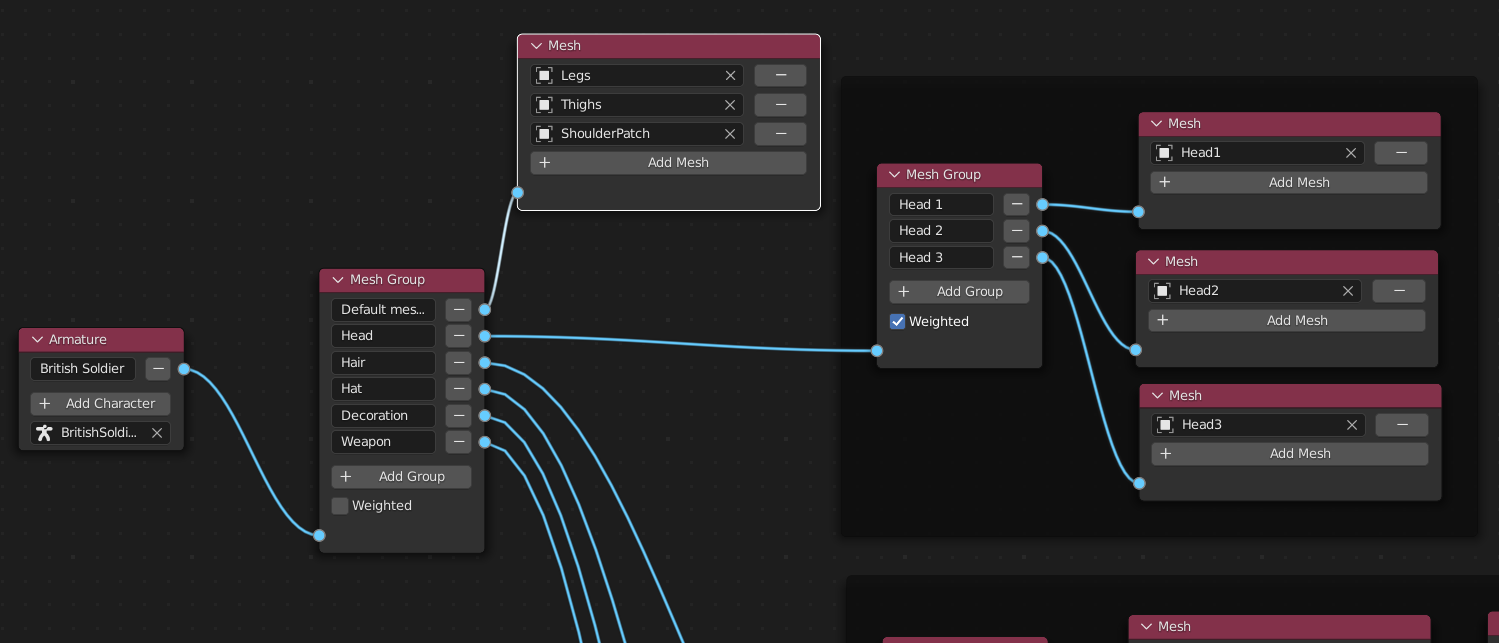
For example, the next image shows a character configuration.

When an agent uses the British Soldier model, it will show two mesh variations:
Legs, Thighs and ShoulderPatch meshes will always be added to the armature.
One of the 3 heads (Head1, Head2 and Head3) will be added to the armature. This can be selected by the manually (Viewport - Sidepanel) or automatically (During populate).
Note
Multiple weighted mesh groups in a chain
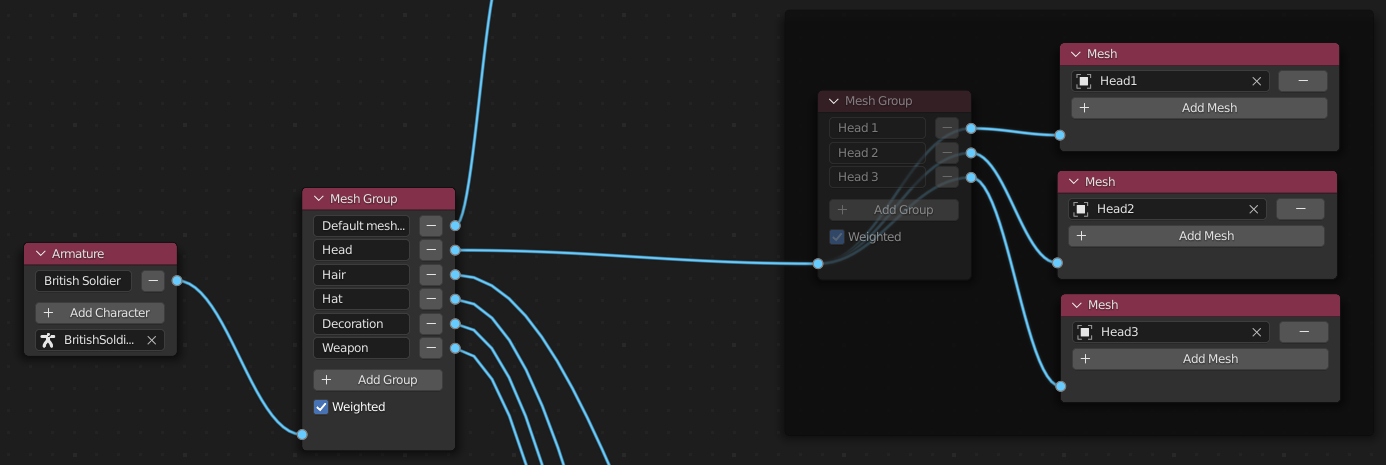
It is not supported to have multiple weighted mesh groups in a chain. When you configure the character with multiple weighted mesh groups in a chain the violating mesh groups will be highlighted.

To fix this, you need to setup your weighted groups such that from the Armature node to any Mesh Node only one Mesh Group Node is present with the Weighted option checked.
Note
Name your mesh groups well
Name your mesh groups well as the names are used when populating or adding behavior to your scene.